Create your dreams every day...

Create your dreams every day...

Tuesday, November 8, 2011

...guest/sewing room update

...another found (in the garage) object, a cheap bulletin board that one of the kids had in their bedroom at one time or another...
...you know the kind, the thin, flimsy ones you get at Wal Mart...
...i gave it a couple of coats of paint (remember the leftover paint from my classroom?)...
...i know it's silly, but i got excited as i painted it, knowing that i still haven't spent any money on sprucing up the room--so far, all found objects!...
...and here's a look at it after adding some fabric to cover the ugly cork...
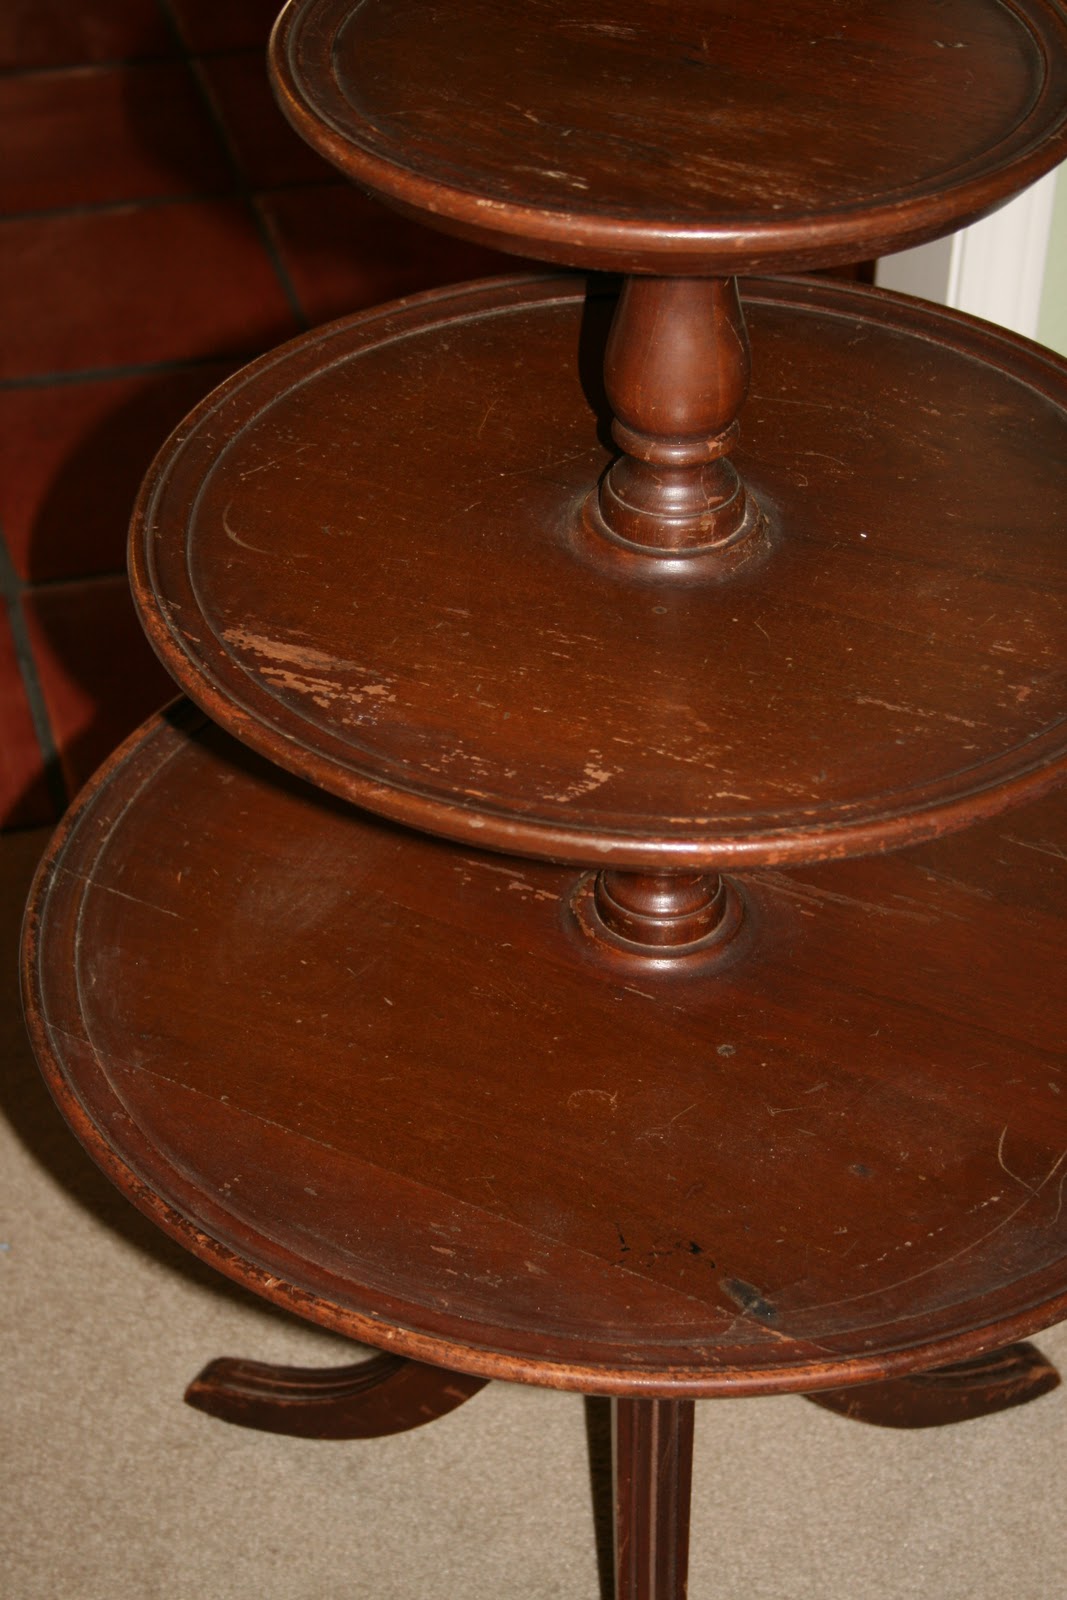
...next up, an awesome table i found in the attic-forgot it was even up there...
...you think there's enough paint to doll this up, too?...well, yes there is!...

...i love, love, love this little table...
...i can't believe i've had it hidden up in the attic! maybe i need to make an inventory list of the stash that's up there so i don't forget all of the fun treasures (sometimes called junk) stored up there...
...and finally, these weren't up in the attic, but I covered some old, dark colored pillows i had with some coordinating fabric, love how it's brightening up the room!...stay tuned--you never know what i might paint next!

Wednesday, November 2, 2011

I know these aren't the best pics, but I was shooting inside through a glass window. I love watching the boys at their swim lessons...
M's face was cracking me up! And the instructor was so good with the kids, very full of energy...can you say h-y-p-e-r???
Look at his cheesy smile, I think he had just finished flirting with another little girl in the class next to him:)
He's "movin' and shakin'' in this one, getting ready to jump in, too funny!
Look closely and you can see his flippers...
...practicing floating on his back...
And, here's the only shot I got of G, I guess I was busier watching M play during G's lessons than I was watching G play during M's lessons!
So here's an extra shot of G, he was playing "tie me up" with sissy...notice jewelry doubling as handcuffs...
And, just because I miss her, here is mom relaxing on the deck this summer during our girl's trip...
Hi mom! Love you:)

Tuesday, November 1, 2011

...a thrifty project and faces of G

Here's the before picture of some old shelves I retrieved from the attic. You know the kind---cheap, plastic, flimsy shelves from Wal-Mart. The kind you buy when you're in a hurry and need shelf space and you don't want to put much effort into it. Well, since Caleb has his own apartment now, I have been s-l-o-w-l-y updating his old room. I  painted, added new carpet and put new twin beds in it to use as a guest room when all the kids and grand kids come home to visit. I decided not too long ago to turn this room into my sewing room, too. It isn't used very often as a guest room and I felt like it was wasted space most of the time. I quickly found out I needed some shelves, but didn't want to spend any extra money. For several days I moved existing furniture around (in my mind) from room to room trying to figure out how to squeeze some extra shelving from another room. I just couldn't part with any of my existing shelf space----so----I decided to make a trip up to the attic----and found the above, ugly, brown plastic shelves. But not to worry----I also had some teal paint left over from painting my classroom last summer. And, I am so, so happy with the results. What do ya think? Marley is pleased:)
And, even more exciting----I found an old ornate picture frame that was stored in the attic, too. It was originally painted in golds and browns, ugh! Here comes the paint again:) I discarded the glass and picture that was framed and made a padded, covered bulletin board. All for free!!!
And I love the way it looks!
See my new apron pattern? I'm waiting until I find the perfect fabric...haven't found it yet.
Red and blue might just be my new
favorite color combo!
And, just because he is one of my faves, here are a few pics of G having a great time playing with Nienie.
Take a look at those eye lashes! I'm jealous...
He's trying to act like I'm not in his face taking pictures! Love this guy...

Monday, October 31, 2011

...soup success, little "m", and Happy Halloween!

After yesterday's post about the potato soup not cooking in the crock pot--we finally had success after cooking it on the stove top. Maybe I need a new crock pot?? If you are interested in the recipe, click here, the only thing I changed was adding a few more potatoes to allow for more servings, and I used canned chicken broth instead of cubes. I will definitely make this soup again.
And, totally unrelated to the soup, but some really cute shots of M from last weekend...a little playtime while big bro was in school...
He loves to push the basket out and climb through...he's almost too big to play this anymore...
A quick get-a-way as nienie tries to get a fast pic!
Aaawwwweee, how adorable is that cute little face? (very cute, if you ask me:)
Now, it's time to pick out a movie.
Happy Halloween to all...jack-o-lantern courtesy of Darku and Kelsey!!!

Sunday, October 30, 2011

...a little quilting, and some soup

I'm making two small quilted table toppers for my bedside tables.
All stitched together by hand, because my machine has been in the shop being cleaned and adjusted.
I love all of the fun colors, including the red!
Since I have my sewing machine back now, I think I'll add the strips by machine, I'm anxious to get them done.
And, this is a potato soup recipe I found on Pinterest, I was going to blog about it. But---it has been in the crock pot on high for 3 hours and hasn't even started to cook. So, I put it in a pot on the stove--me and hubby are getting hungry. I'm glad I tried it while I was home instead of waiting until tomorrow while I would be gone all day to school.  I'll have to let you know how it tastes, if it ever gets done----I can report that it sure smells good!

Thursday, October 27, 2011

...an apple a day

...he said, "I want the big one", when I opened the refrigerator,
...I said, "are you sure, the big one? you don't want me to cut it"?
..."no" he said.......so, I just snapped pics as he opened his mouth
wide and bit a big chunk off!
...these boys are so entertaining, I could just sit and watch their antics all day long:)

Monday, October 24, 2011

I'm back...

I'm back, but look what I had to  leave behind--I miss these boys already!
We  had so much fun hanging out together...
They are so funny and sweet, there was never a dull moment.
And I must say, they are growing up way, way too fast.
And, they love to mess with me when they see me trying to take pictures!
But, I just keep snapping away---then I'm pleasantly surprised when I go through to edit all the shots I took.

Can't wait to see them again!

Along with pics of my darling grandchildren, here is a quick shot of our dinner tonight. I found a recipe for Freezer Burritos and wanted to try it out since me and hubby both take our lunch to work everyday. I'm posting the original recipe and noting my changes in parenthesis. Here is the link to see more info on the original recipe.

Freezer-Friendly Bean and Rice Burritos
Easy individually-wrapped bean and rice burritos for the freezer! These burritos are simple and delicious!   Yield: 8 burritos (My recipe made 10, probably because I added chicken breasts)
Ingredients:
***I added 2 cut up chicken breast from a roasted chicken from the Deli (Wal-Mart)*** 
4 cups cooked pinto beans (I used one can of pinto beans)
4 cups cooked rice (I used brown rice)
4 cups (16 ounces) shredded Mexican or cheddar cheese
Salt, to taste (I didn't add any extra salt)
Hot sauce, optional (I added 4 tablespoons of Picante Sauce)
8 burrito-size flour tortillas (Mine filled 10)
Sour cream or hot sauce, for serving
Instructions:
1. In a large bowl, toss together the cooked chicken, beans, rice, cheese, and some splashes of hot sauce (if using).
2. Spread about 1 1/2 cups of the beans and rice mixture on each tortilla. Fold into burritos (see below). Wrap individually in pieces of foil.
3. Place foil-wrapped burritos in a gallon-size freezer Ziplock bag, removing excess air if possible. Label with name and date. Freeze for up to 6 months (if tightly wrapped).
See a photo tutorial for this recipe here!
Reheating instructions:
From frozen: Place frozen burritos a few inches apart directly on oven rack. Turn oven on to 375 degrees and bake for 35-40 minutes, until hot inside. Serve with sour cream or hot sauce!
From thawed (or freshly made): Place burritos a few inches apart directly on oven rack. Turn oven on to 375 degrees and bake for 25 minutes, until hot inside. Serve with sour cream or hot sauce!

These were a hit! I will definately be making them again, and super simple!
Follow me on Pinterest